
This comprehensive guide covers everything you need to know about waterproof coaxial cables—from understanding water...
Installing Coaxial Cable: The Complete Guide
Installing Coaxial Cable: The Complete Guide
Published by Wassalat Technical Team
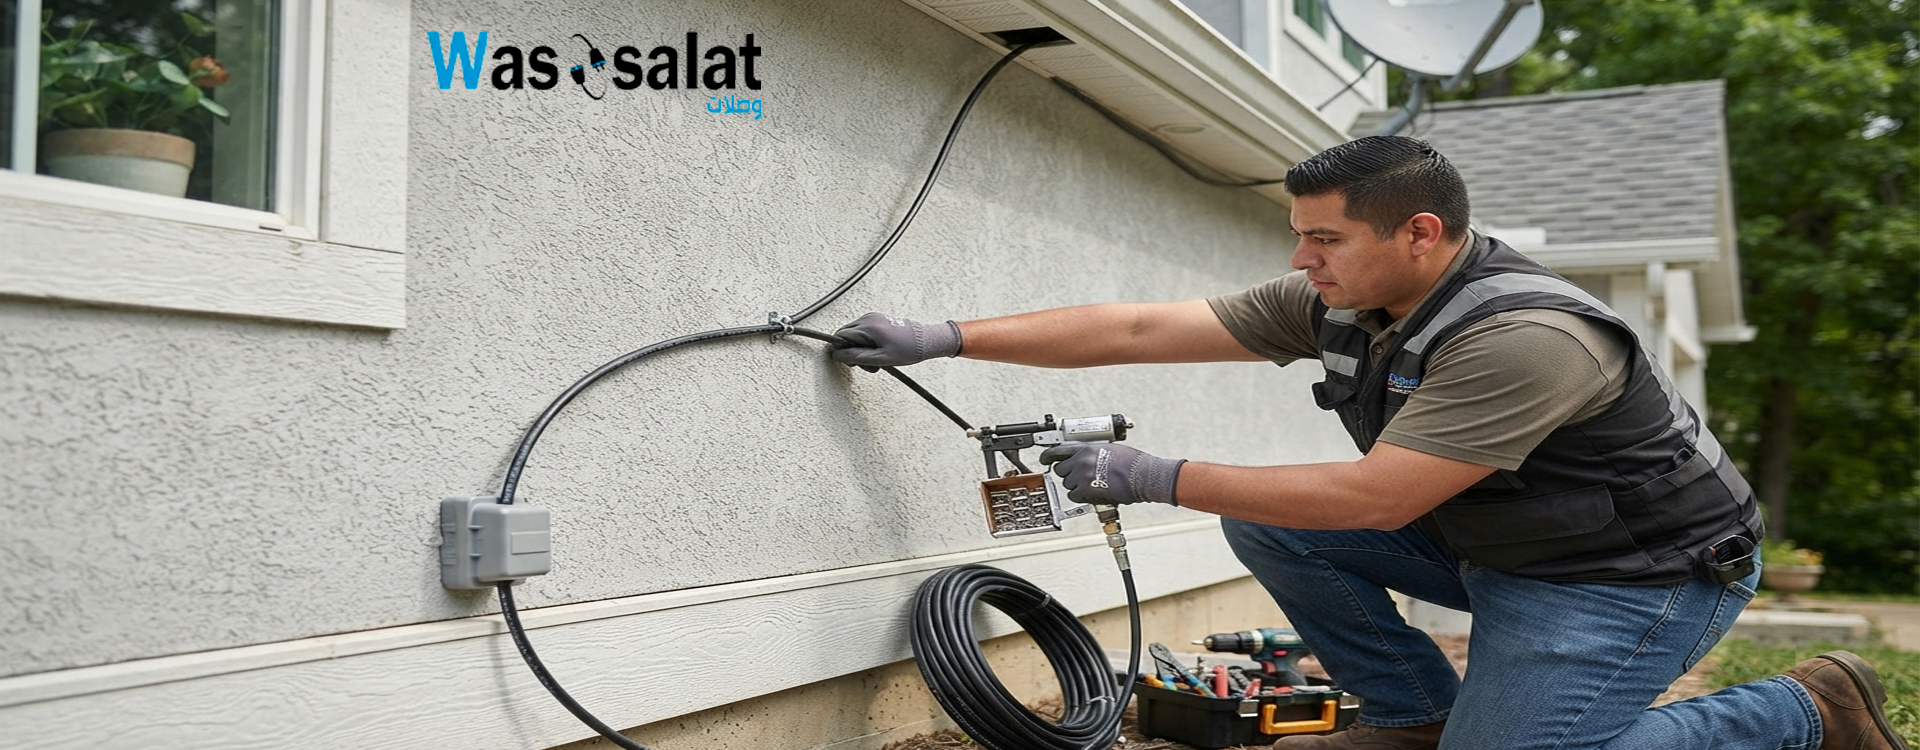
Installing coaxial cable is a common task for homeowners, installers, and DIY enthusiasts. But doing it correctly makes the difference between reliable, high-quality signals and frustrating, intermittent problems.
This comprehensive guide covers everything you need to know about installing coaxial cable—from planning and tools to termination and testing. Whether you're running cable for TV, internet, CCTV, or RF, this guide will help you do it right.
? Table of Contents
Planning Your Installation
Proper planning saves time, money, and frustration. Before you start, consider these key factors:
Step 1: Determine Your Route
- ? Measure the distance – Account for walls, ceilings, and bends
- ? Identify obstacles – Studs, pipes, electrical wiring
- ? Plan for service loops – Add 10-15% extra length
- ? Check maximum length – Stay within cable limits
Step 2: Identify Interference Sources
| Interference Source | Minimum Separation |
|---|---|
| Power Cables (100-240V) | 12 inches |
| Power Cables (>240V) | 24 inches |
| Fluorescent Lighting | 12 inches |
| Motors / Transformers | 24 inches |
| WiFi Routers | 6 inches |
Step 3: Check Building Codes
- ✅ Plenum spaces – Use plenum-rated cable (CMP)
- ✅ Riser shafts – Use riser-rated cable (CMR)
- ✅ In-wall – Use CM, CMR, or CMP rated cable
- ✅ Outdoor – Use outdoor-rated cable (PE jacket)
? Tip: Always buy 10-15% more cable than you think you need. It's better to have extra than to come up short. Service loops at each end make future reconnections easier.
Tools You'll Need
Essential Tools
| Tool | Purpose | Required |
|---|---|---|
| Coaxial Stripper | Strip jacket and dielectric | ✅ |
| Crimping Tool | Crimp connectors | ✅ |
| Compression Tool | Compression connectors | ✅ |
| Cable Cutter | Cut cable to length | ✅ |
| Fish Tape | Pull cable through walls | ⚠️ |
| Stud Finder | Locate wall studs | ⚠️ |
| Drywall Saw | Cut holes for wall plates | ⚠️ |
| Cable Tester | Verify connection | ✅ |
| Drill with Bits | Drill holes through studs | ⚠️ |
Optional Tools
- ? Measuring Tape – Measure distances accurately
- ✏️ Pencil / Marker – Mark cable and wall locations
- ? Flashlight – See in dark spaces
- ? Cable Clips – Secure cable to walls
Choosing the Right Cable
By Application
| Application | Recommended Cable | Notes |
|---|---|---|
| Cable TV | RG6 Dual Shield | Standard for most homes |
| Satellite TV | RG6 Quad Shield | Essential for weak signals |
| Broadband Internet | RG6 Dual Shield | Sufficient for cable modems |
| CCTV | RG6 or RG59 | RG6 for long runs, RG59 for short |
| TV Antenna | RG6 | Use quad shield for weak signals |
| WiFi Antenna | LMR-400 | Low loss at 2.4/5 GHz |
By Location
| Location | Jacket Type | Notes |
|---|---|---|
| Indoor (Wall) | PVC (CM/CMR) | White or colored jacket |
| Plenum (Air Ducts) | CMP (Plenum) | Fire-rated, low smoke |
| Outdoor | PE (Polyethylene) | UV and water resistant |
| Buried | Direct Burial | Gel-filled, water-blocking |
Routing the Cable
Running Cable Through Walls
- Plan the path – Identify stud locations and obstacles
- Drill holes – Use a long drill bit through studs
- Fish the cable – Use fish tape to pull cable through
- Secure the cable – Use cable clips every 3-5 feet
- Install wall plates – Terminate at wall plate locations
Running Cable Along Walls
- ? Use cable clips – Secure every 3-5 feet
- ? Avoid stepping on cable – Route around walking areas
- ? Use conduit – In exposed or high-traffic areas
- ? Keep away from heat – Avoid HVAC ducts and radiators
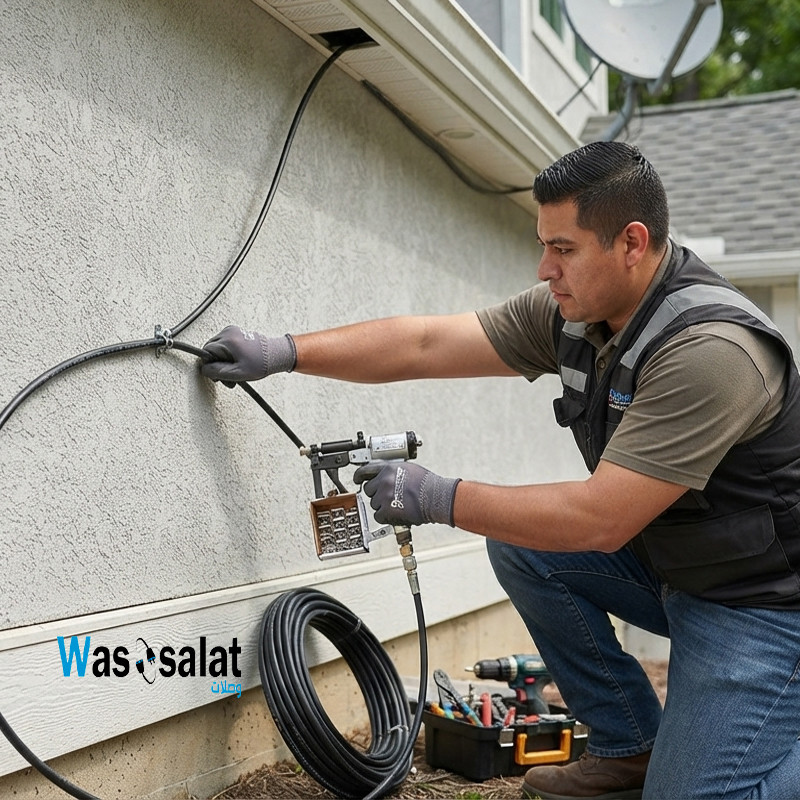
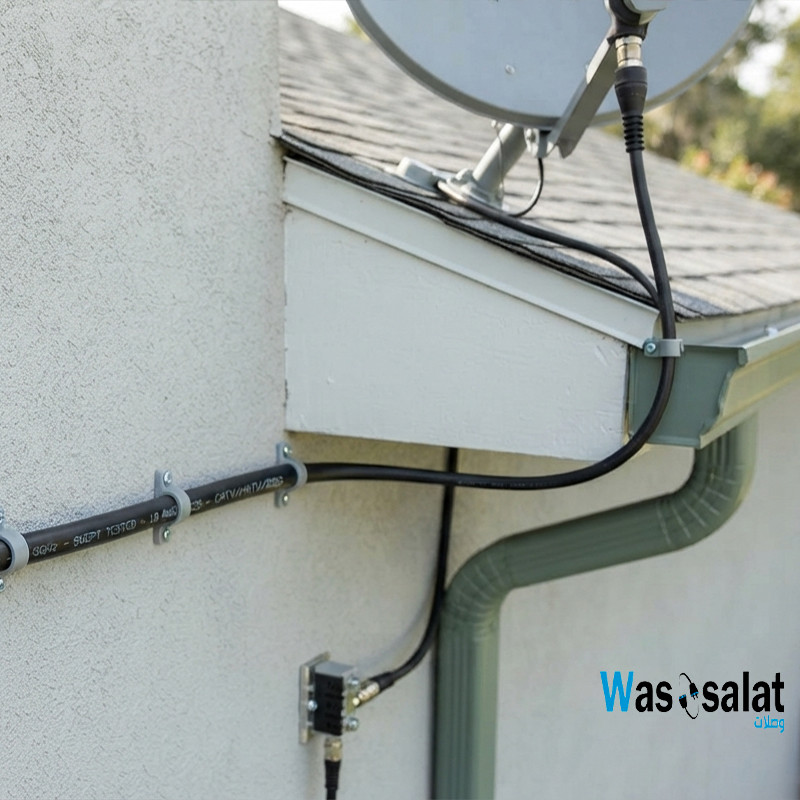
Outdoor Routing
- ☀️ Use outdoor cable – PE jacket required
- ? Create drip loops – Prevent water ingress
- ? Weatherproof connections – Use waterproof tape
- ⚡ Ground the system – Important for lightning protection
Drip Loops
A drip loop is a U-shaped bend in the cable at the building entry point that prevents water from running along the cable into the building.
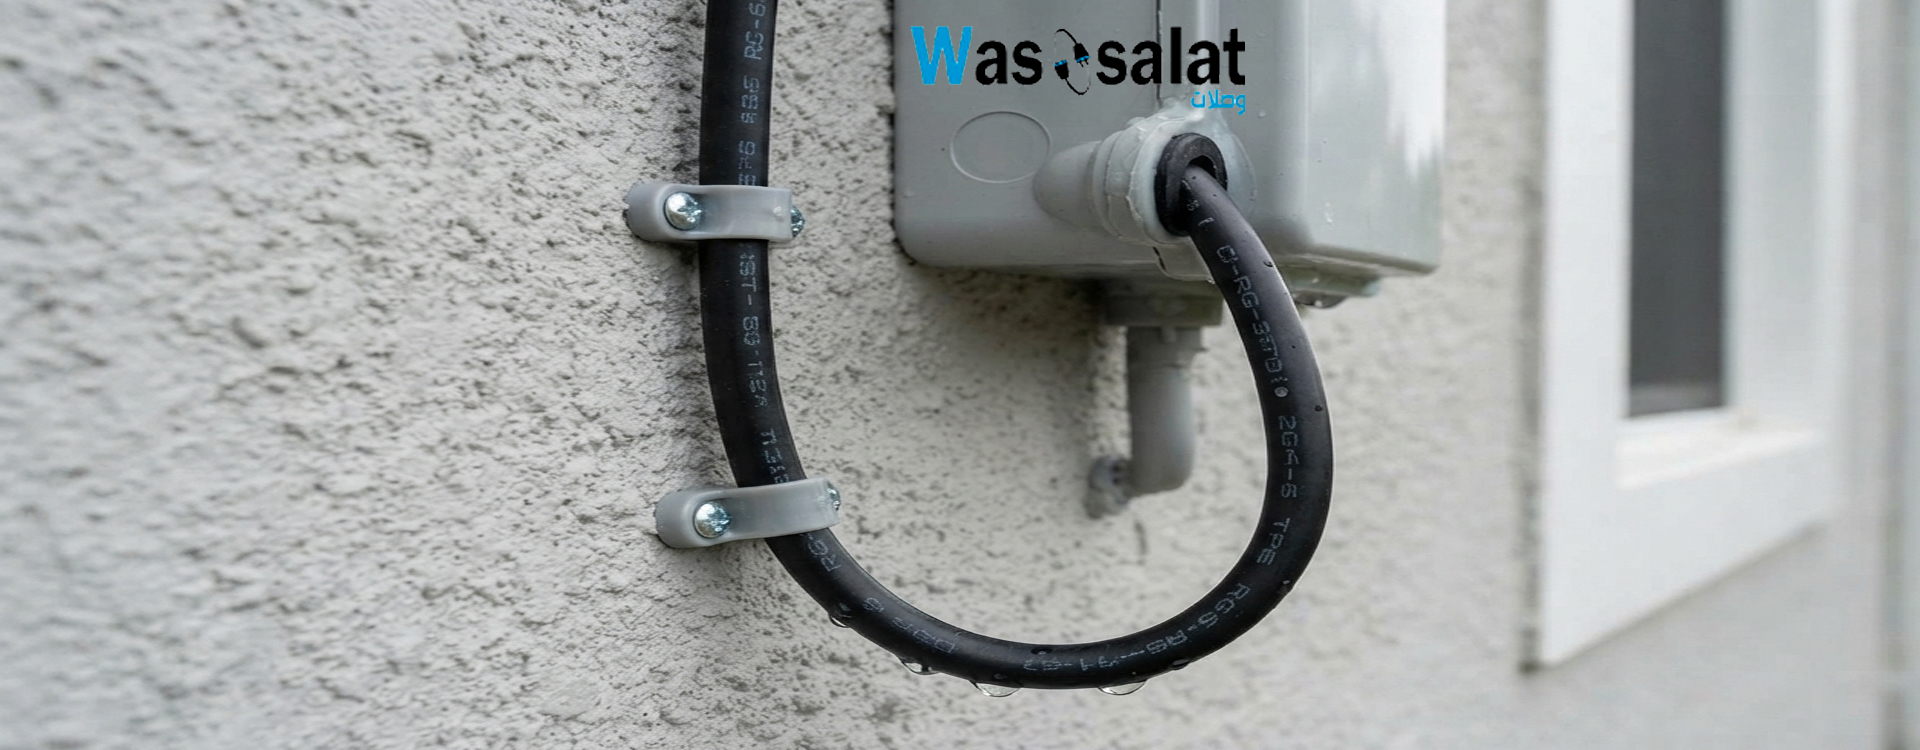
- ✅ Form a U-shape – Cable should hang down and back up
- ✅ Position below entry point – Loop should be below the hole
- ✅ Secure the loop – Use cable clips to hold it
⚠️ Critical: Always use a drip loop when routing cable from outside to inside. Water running along the cable is the #1 cause of signal failure in outdoor installations.
Terminating the Cable
Step-by-Step Termination
1. Strip the Cable
- Use a coaxial stripper to remove the outer jacket
- Remove the dielectric (foam) to expose the center conductor
- Fold back the braid over the dielectric
2. Prepare the Connector
- Choose the correct connector (F-Type, BNC, SMA, etc.)
- Ensure connector matches cable type (RG6, RG59, etc.)
3. Attach the Connector
For Compression Connectors:
- Slide connector onto the prepared cable
- Use compression tool to compress the connector
- Pull to ensure it's secure
For Crimp Connectors:
- Slide connector onto the prepared cable
- Use crimp tool with correct die
- Press firmly to crimp
4. Test the Connection
- Check continuity with a multimeter or cable tester
- Verify there are no shorts
- Check signal quality with a meter
Common Termination Mistakes
- ❌ Nicked center conductor – Damage from stripping
- ❌ Braided wires touching center conductor – Short circuit
- ❌ Connector not fully seated – Intermittent connection
- ❌ Wrong connector for cable type – Poor fit
- ❌ Over-crimping – Damaged connector
- ❌ Under-crimping – Loose connector
Weatherproofing Outdoor Connections
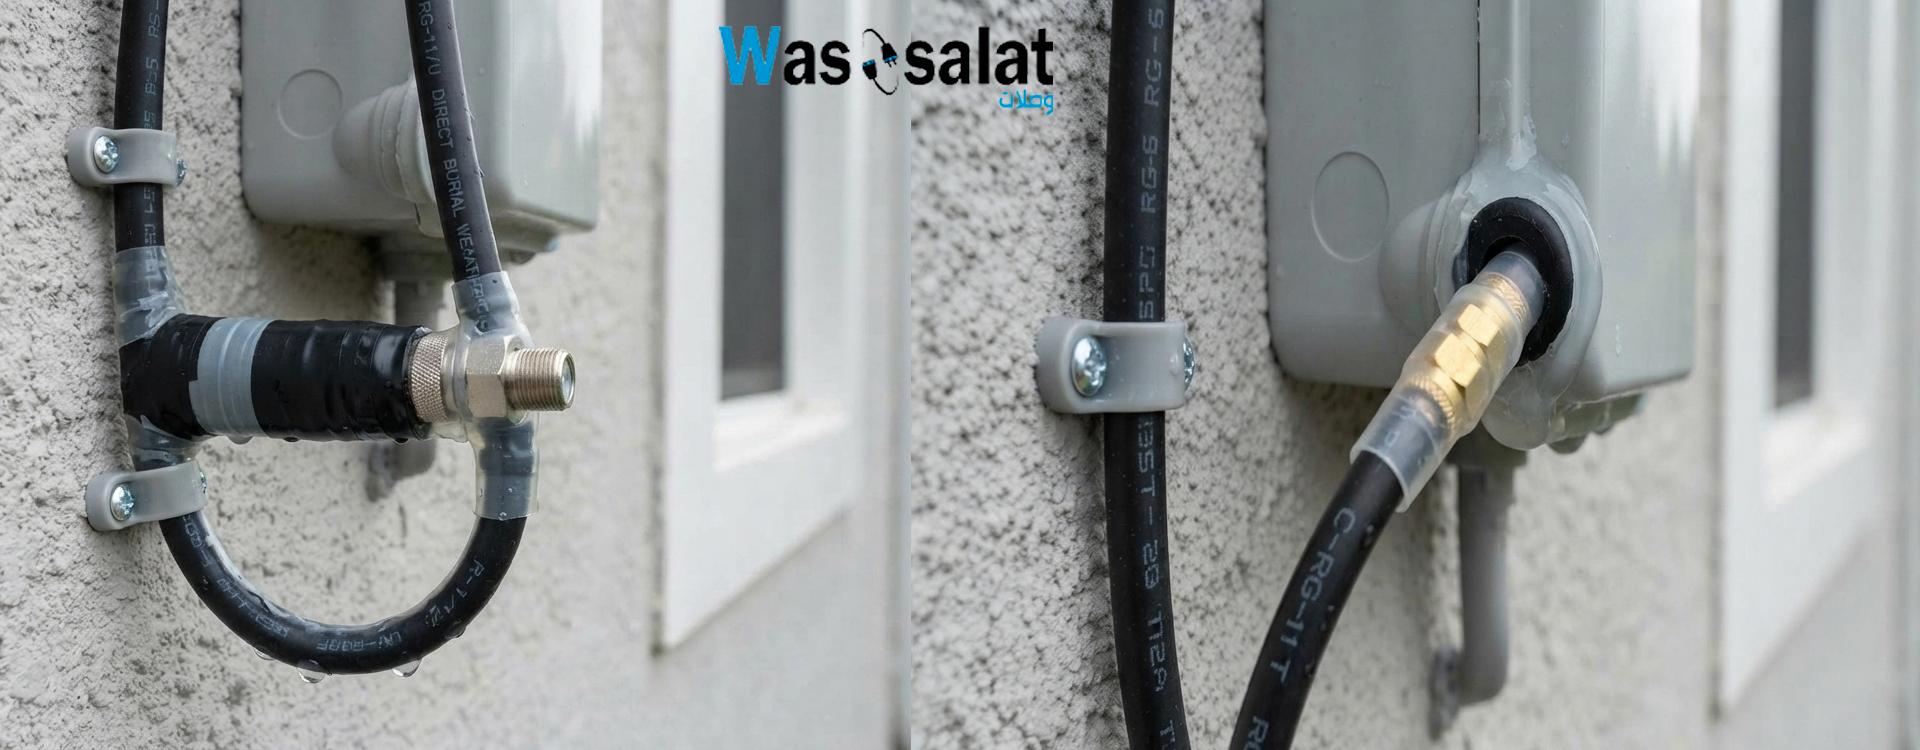
Step-by-Step Weatherproofing
- Clean the connection – Wipe with a clean cloth
- Apply self-amalgamating tape – Start 1-2" below the connector, wrap with 50% overlap, stretch as you wrap
- Extend above the connector – Wrap 1-2" above the connector
- Apply outer tape – Use high-quality electrical tape for mechanical protection
- Test again – Verify signal quality after weatherproofing
Materials Needed
- ? Self-amalgamating tape – Silicone-based, self-fusing tape
- ? Electrical tape – PVC tape for outer layer
- ? Clean cloth – For cleaning connections
- ? Weather boots – Optional for N-Type connectors
⚠️ Critical: Failing to weatherproof outdoor connections is the #1 cause of signal failure in outdoor installations. Water ingress can corrode connectors within months.
Testing Your Installation
Testing Methods
1. Visual Inspection
- ✅ Check all connections are tight
- ✅ Verify connectors are fully seated
- ✅ Look for damaged cable or connectors
- ✅ Ensure proper weatherproofing
2. Continuity Test
- ? Multimeter – Check for continuity between center conductor ends
- ? Check for shorts – No continuity between center and shield
3. Signal Quality Test
- ? Signal meter – Check signal strength and quality
- ? TV/Satellite receiver – Check signal strength menu
- ? Cable tester – Some testers measure signal loss
Acceptable Signal Levels
| Application | Good Signal | Poor Signal |
|---|---|---|
| Cable TV | > 5 dBmV | < 0 dBmV |
| Satellite TV | > 80% Quality | < 60% Quality |
| CCTV | Clear Video | Grainy/Dropouts |
Troubleshooting Common Problems
| Problem | Likely Cause | Solution |
|---|---|---|
| No Signal | Broken center conductor, loose connector | Check continuity, re-terminate |
| Pixelation / Freezing | Weak signal, interference, long cable run | Check signal level, use better cable, add amplifier |
| Ghosting | Impedance mismatch | Use correct impedance cable |
| Intermittent Signal | Loose connector, damaged cable | Check all connections, replace damaged cable |
| Water Ingress | Unsealed outdoor connection | Weatherproof connections, replace corroded parts |
| Hum / Buzz | Ground loop | Ensure proper grounding, use isolation transformer |
Frequently Asked Questions (FAQ)
1. Can I run coaxial cable outside?
Yes, but use outdoor-rated cable with a PE jacket that resists UV and moisture. Indoor cable will degrade in sunlight.
2. How long can a coaxial cable run be?
It depends on the cable type and frequency. RG6 can run 150-200 feet for TV. LMR-400 can run 200+ feet for RF. For longer runs, use RG11, LMR-600, or an amplifier.
3. Can I splice coaxial cable?
Yes, using F-Type barrel connectors. However, each splice adds signal loss. Use a continuous cable when possible.
4. How do I run coaxial cable through walls?
Use a fish tape to pull the cable through drilled holes. Install wall plates at both ends with F-Type or BNC connectors.
5. What is a drip loop?
A U-shaped bend in the cable at the building entry point that prevents water from running along the cable into the building.
6. Can I run coaxial cable with electrical wires?
Avoid running coax parallel to power cables. Maintain 12+ inches of separation. Cross at 90° angles when necessary.
7. What's the minimum bend radius for coax?
RG6: 2-3 inches. RG11: 4-6 inches. LMR-400: 4 inches. Exceeding the bend radius can damage the cable.
8. How do I test coaxial cable?
Use a multimeter for continuity, a cable tester for signal quality, or a signal meter for TV/satellite signals.
9. Should I use compression or crimp connectors?
Compression connectors are the best choice. They provide a weatherproof seal and lower signal loss than crimp or screw-on connectors.
10. How do I remove a stuck connector?
Use two wrenches. Hold the connector with one wrench, turn with another. For F-Type, use a small wrench or pliers carefully to avoid damage.
? Related Articles
- Complete Guide to Coaxial Cables
- Outdoor Coaxial Cable
- Indoor Coaxial Cable
- Coaxial Cable Connectors
- Cable Attenuation Explained
? Need Coaxial Cable & Tools?
We stock professional coaxial cables, connectors, and installation tools. Get everything you need for a successful installation.
Last Updated: July 2026
© 2026 Wassalat. All rights reserved.
Posted in:
Coaxial Cables
Related posts
-
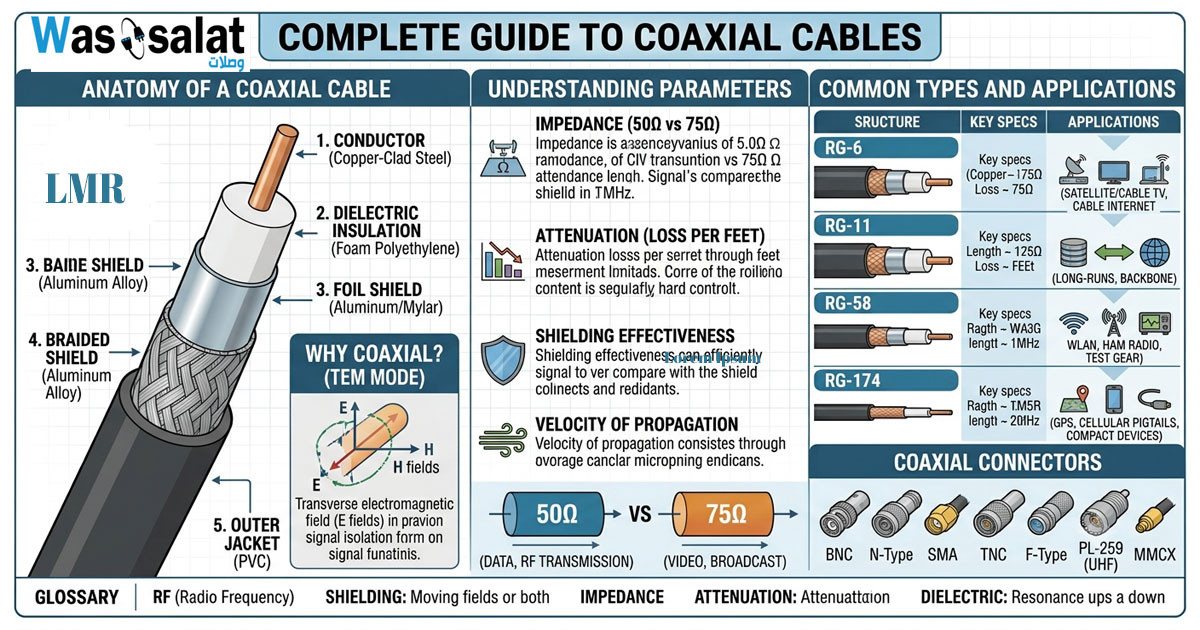 Complete Guide to Coaxial Cables
Everything you need to know about RG-6, LMR-400, impedance, connectors & troubleshooting.Read more
Complete Guide to Coaxial Cables
Everything you need to know about RG-6, LMR-400, impedance, connectors & troubleshooting.Read more -
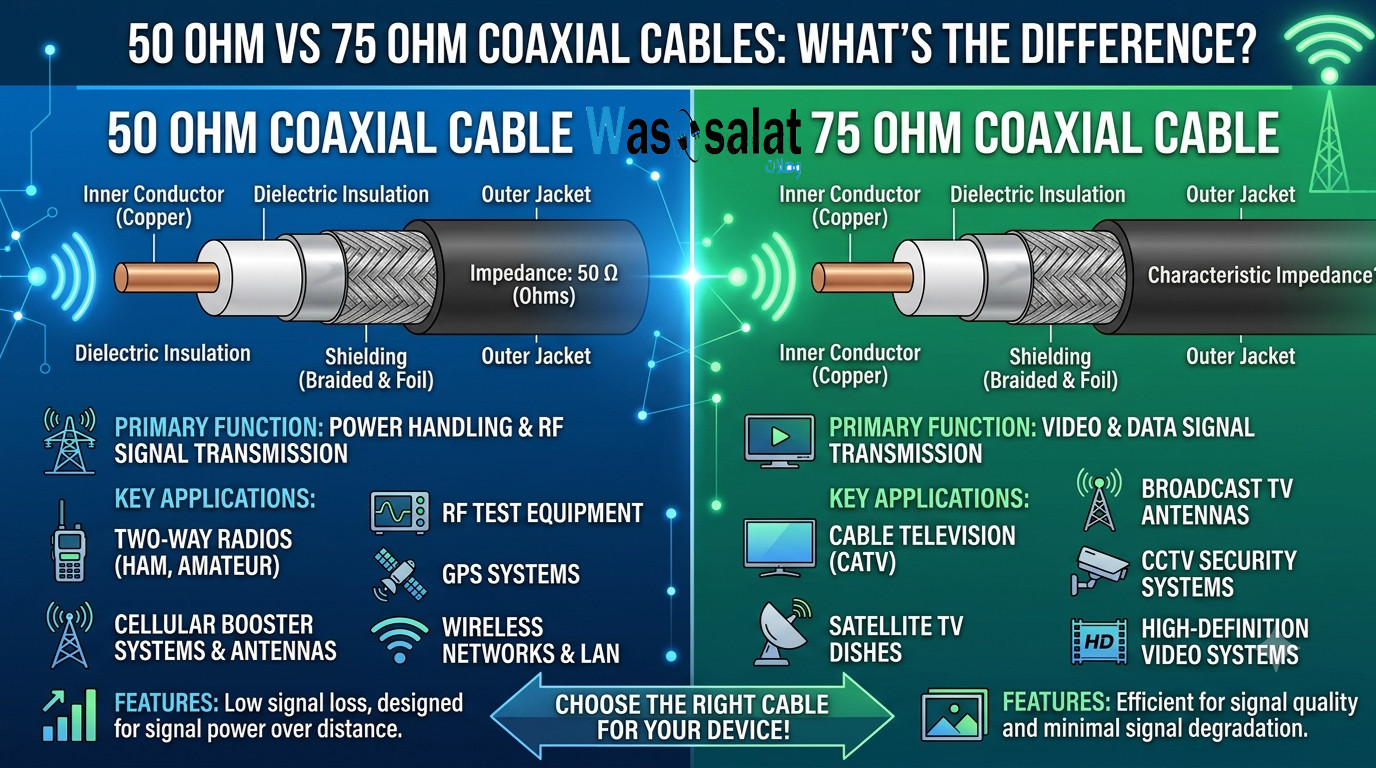 50 Ohm vs 75 Ohm Coaxial Cables: What's the Difference?
Learn the key differences between 50Ω and 75Ω coaxial cables. Find out which impedance you need for WiFi, TV, CCTV,...Read more
50 Ohm vs 75 Ohm Coaxial Cables: What's the Difference?
Learn the key differences between 50Ω and 75Ω coaxial cables. Find out which impedance you need for WiFi, TV, CCTV,...Read more -
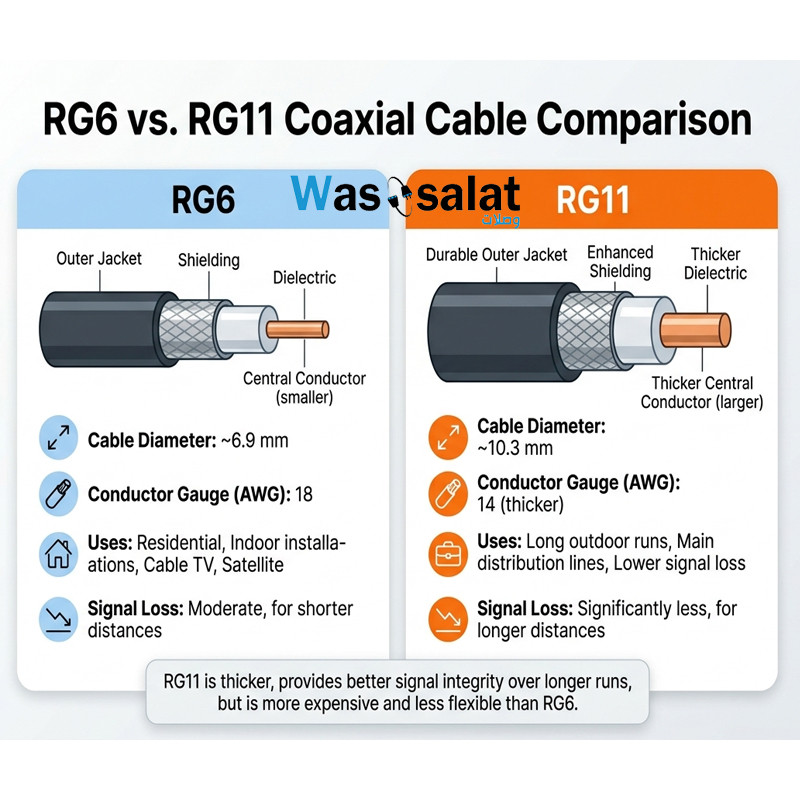 RG6 vs RG11 Coaxial Cables: Which One Do You Need?
Compare RG6 and RG11 coaxial cables. Learn the differences in performance, distance, cost, and when to use each for...Read more
RG6 vs RG11 Coaxial Cables: Which One Do You Need?
Compare RG6 and RG11 coaxial cables. Learn the differences in performance, distance, cost, and when to use each for...Read more -
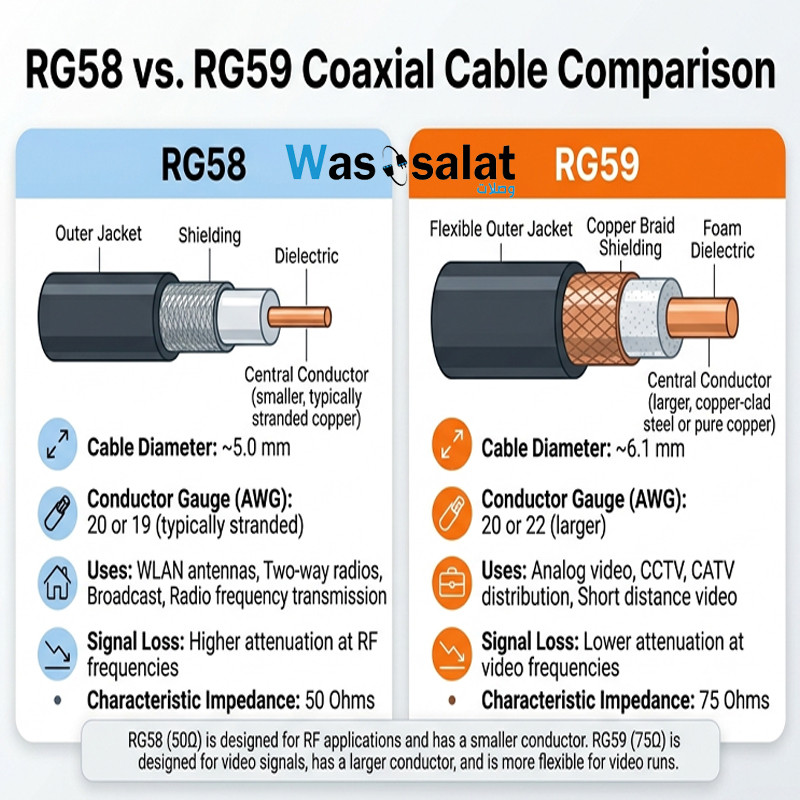 RG58 vs RG59 Coaxial Cables: What's the Difference?
Compare RG58 and RG59 coaxial cables. Learn the critical impedance difference, applications for RF vs video, and...Read more
RG58 vs RG59 Coaxial Cables: What's the Difference?
Compare RG58 and RG59 coaxial cables. Learn the critical impedance difference, applications for RF vs video, and...Read more -
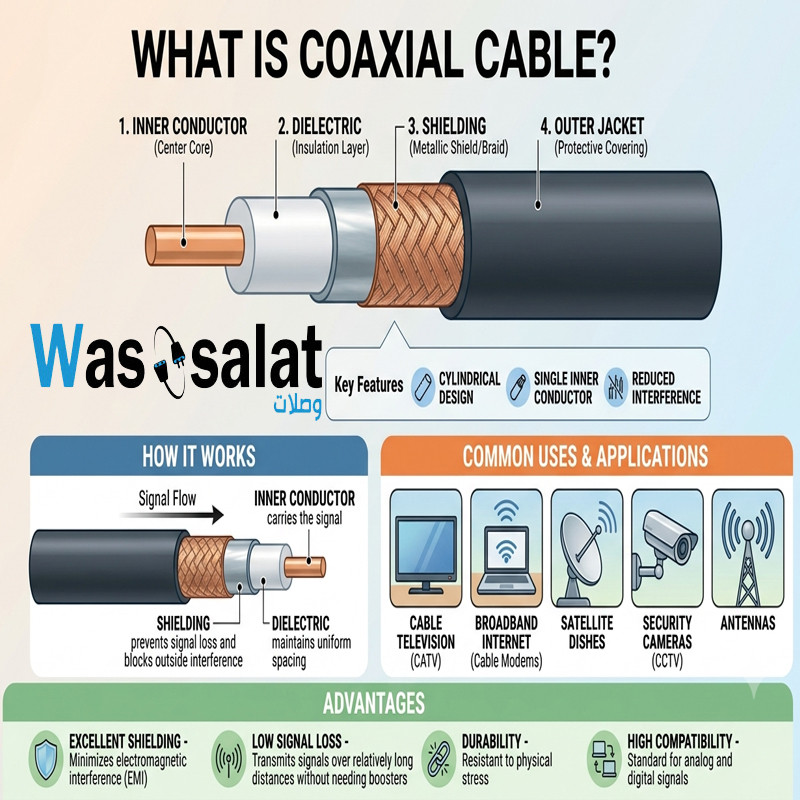 What Is a Coaxial Cable? The Complete Beginner's Guide
Learn what coaxial cables are, how they work, their construction, types, and applications. The beginner's guide to...Read more
What Is a Coaxial Cable? The Complete Beginner's Guide
Learn what coaxial cables are, how they work, their construction, types, and applications. The beginner's guide to...Read more
Latest posts
-
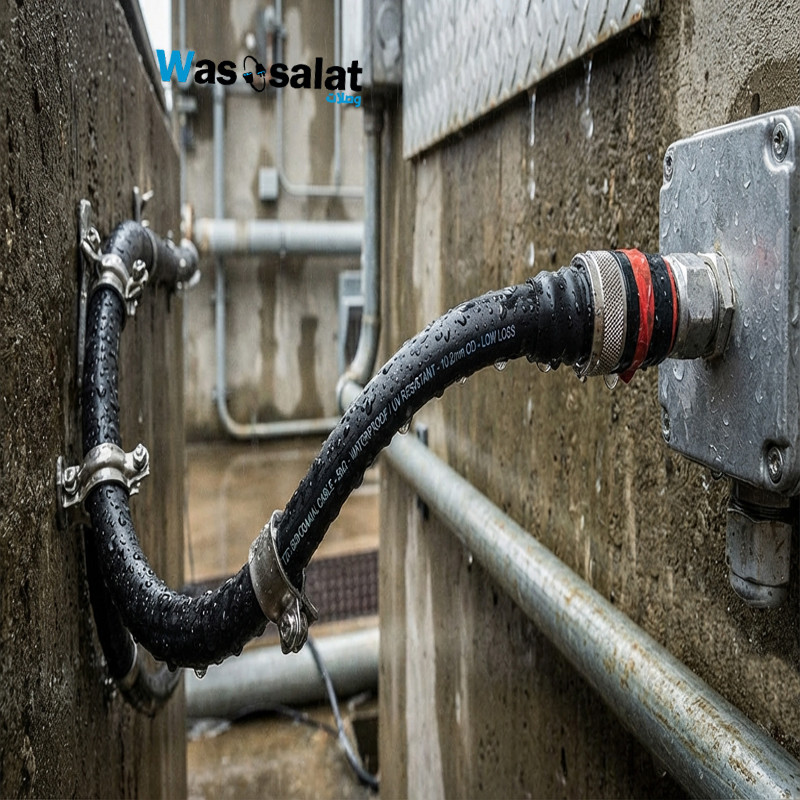 Waterproof Coaxial Cable: The Complete GuideRead more
 -
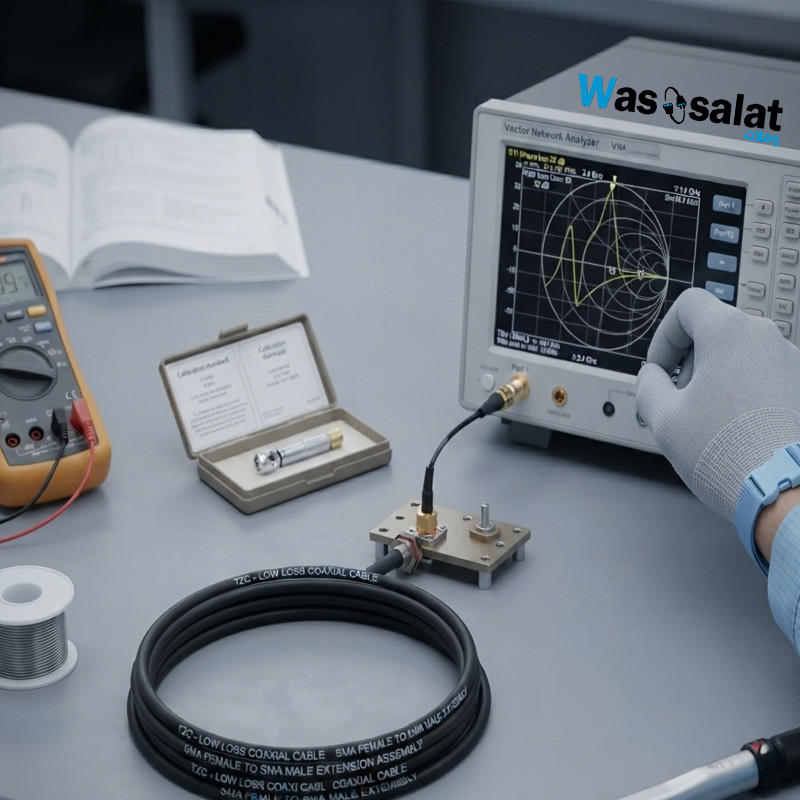 Testing Coaxial Cable: The Complete GuideRead more
This comprehensive guide covers everything you need to know about testing coaxial cable—from simple continuity checks...
-
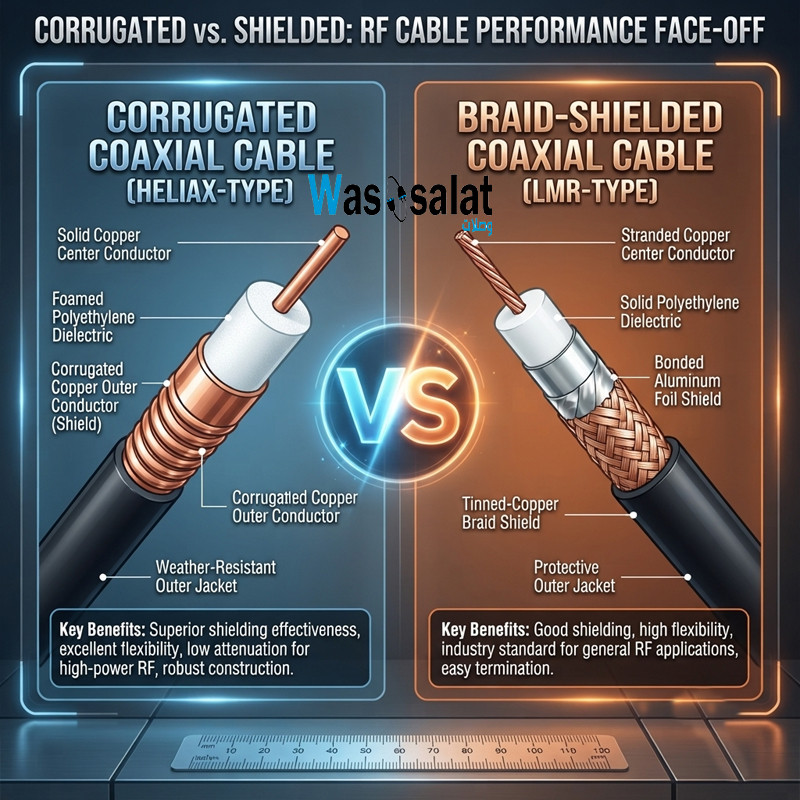 Corrugated Coaxial Cable vs Shielded Coaxial Cable: Complete ComparisonRead more
This comprehensive guide compares both technologies—explaining the differences in construction, performance,...
-
 Installing Coaxial Cable: The Complete GuideRead more
This comprehensive guide compares double shield and quad shield coaxial cables—explaining the differences in...
-
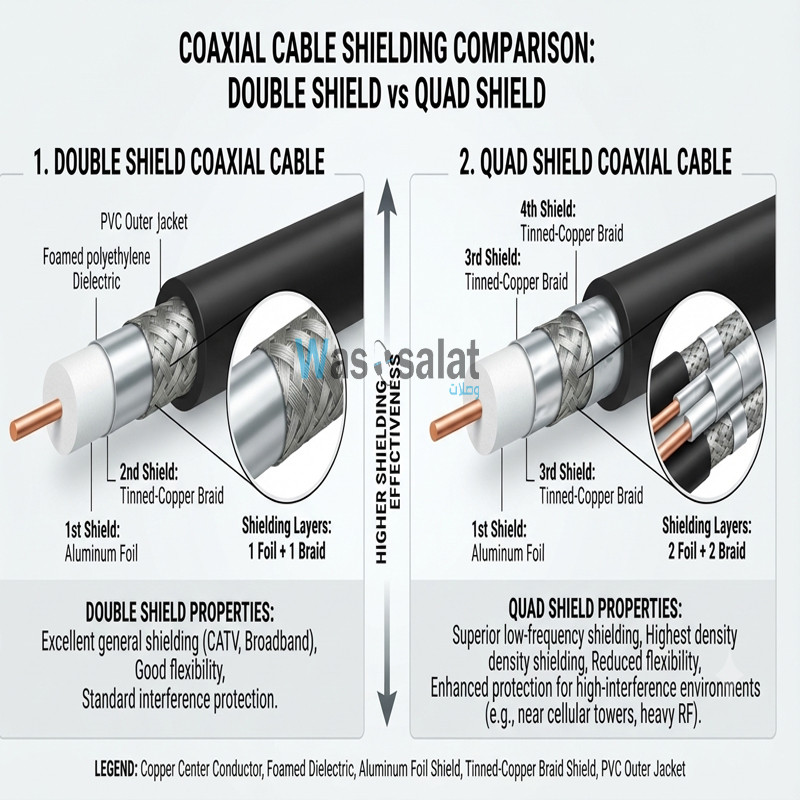 Double Shield vs Quad Shield: Which Coaxial Cable Should You Choose?Read more
This comprehensive guide compares double shield and quad shield coaxial cables—explaining the differences in...
-
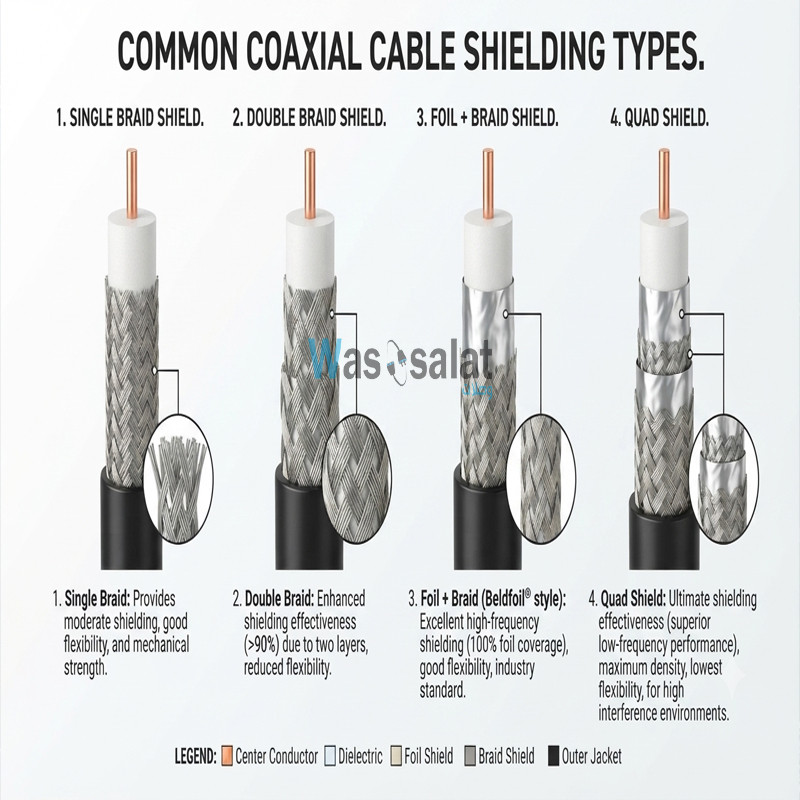 Shielding Types in Coaxial Cables: Complete GuideRead more
This comprehensive guide explains everything you need to know about shielding types—from single shield to quad...
-
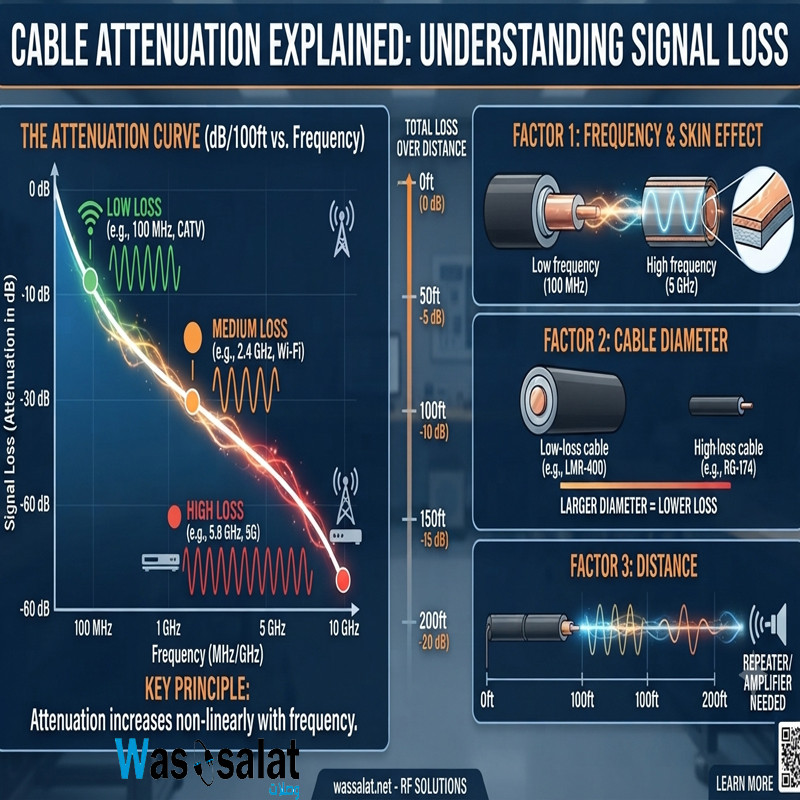 Cable Attenuation Explained: Understanding Signal LossRead more
This comprehensive guide explains everything you need to know about cable attenuation—what it is, what causes it, how...
-
 Outdoor Coaxial Cable: Complete Guide & Selection TipsRead more
Choose the right outdoor coaxial cable for your installation. Compare TZC-500/32 vs TZC-500/97, learn about PE...
-
 LMR-400 vs RG58: Which Coaxial Cable Should You Choose?Read more
Compare LMR-400 vs RG58 coaxial cables. Learn the differences in signal loss, construction, flexibility, and...
-
 Coax Cable Connectors: Complete Guide to F-Type, BNC, N-Type, SMARead more
Learn about coaxial cable connectors—F-Type, BNC, N-Type, SMA, TNC, and UHF. Compare impedances, frequencies, and...
Leave a comment